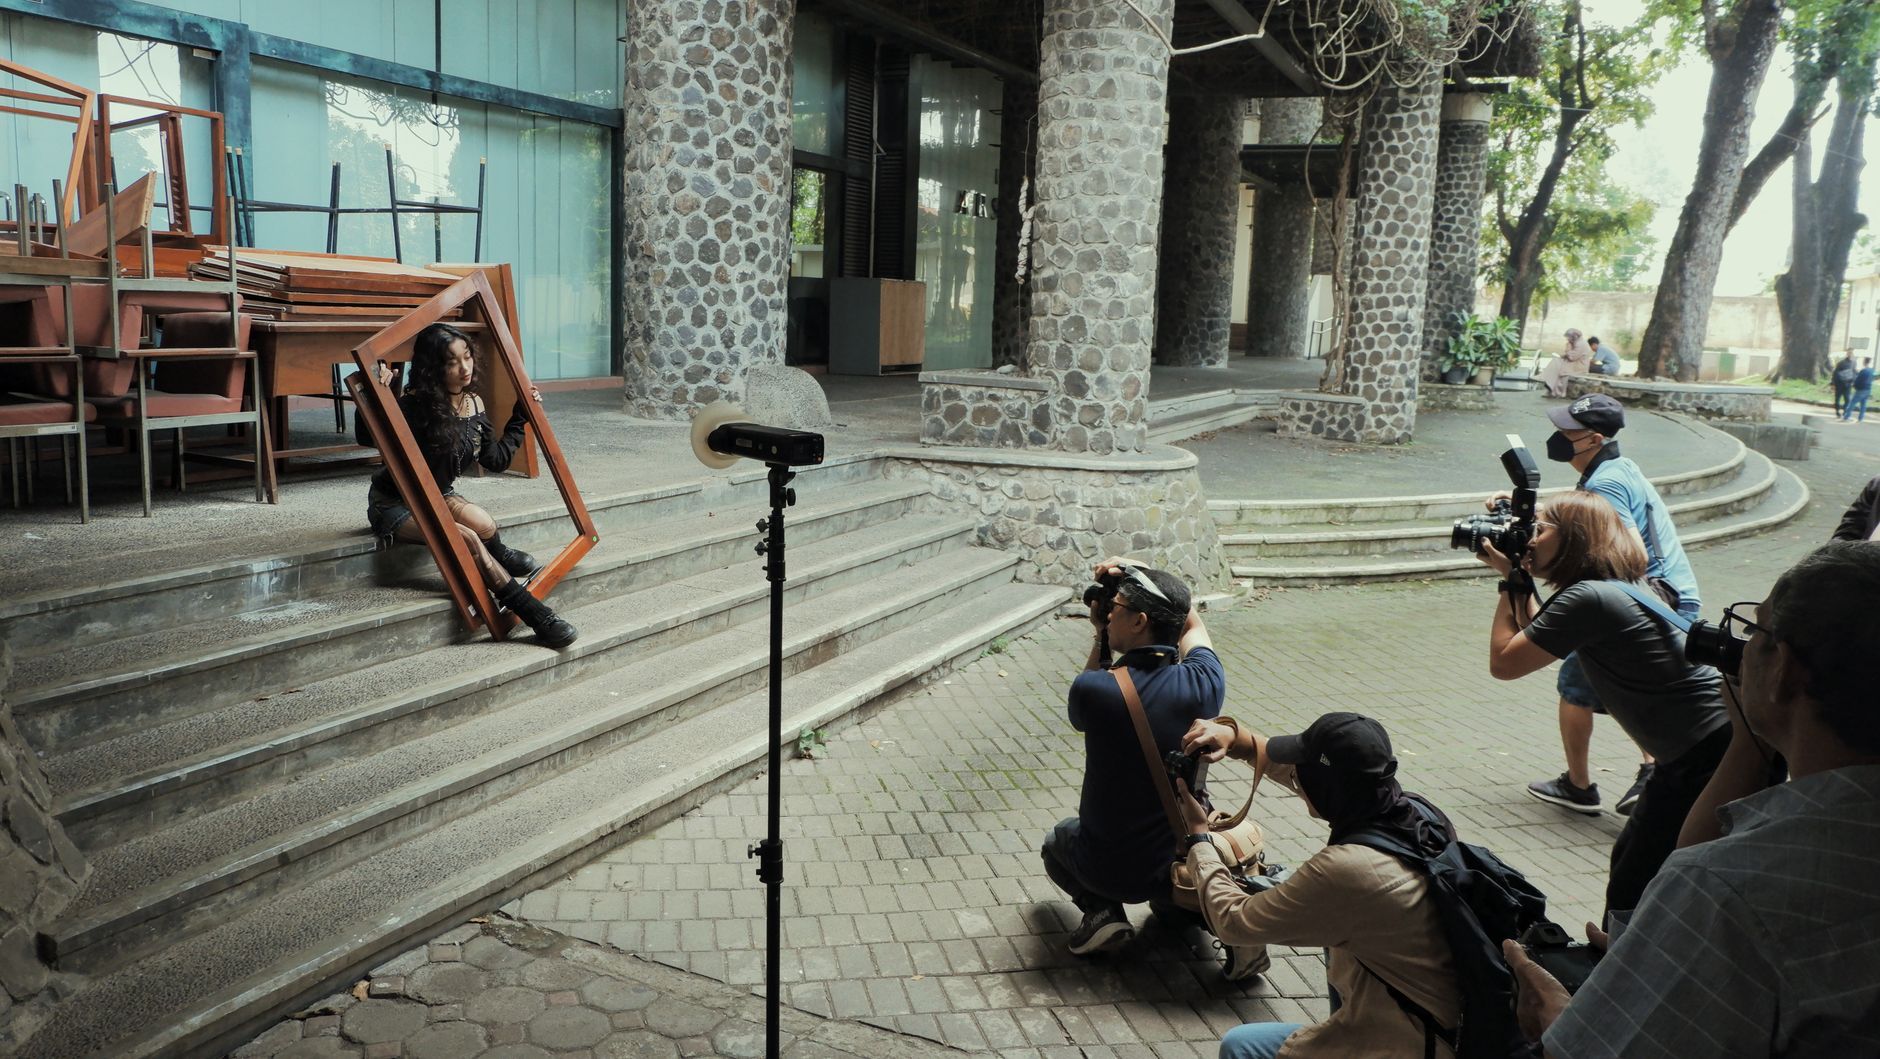
What are the best photography exercises to practice and actually improve your skills?
Quick answer: The best photography exercises give you a clear constraint to work within — like shooting 24 frames from one fixed spot, or capturing 10 unique images of a single small object — so your brain is forced to solve creative problems rather than point and click. Consistent practice with focused exercises trains your eye for composition, light, and storytelling over weeks and months. You do not need expensive gear; most exercises work with any camera, including a smartphone.
Break creative blocks with 25 photography exercises for all skill levels — grouped by goal, with difficulty ratings, time estimates, and step-by-step instructions.
Key Takeaways
- Constraints drive creativity — limiting lens, location, or subject forces smarter compositional decisions.
- Group exercises by skill goal: composition, light, creativity, storytelling, or technical control.
- Every exercise in this guide includes a difficulty level and a time estimate so you can plan.
- Smartphone photographers can complete nearly every exercise on this list without a DSLR or mirrorless camera.
- Avoid editing your images immediately — review first to understand what your eye actually captured.
- Repeat each exercise in a new location or season; repetition is what builds lasting visual instinct.
- A free printable checklist at the end of this guide lets you track which exercises you have completed.
What Are Photography Exercises and Why Do They Work?
!Photographer kneeling on a city street, framing a composition during a structured photography exercise session
Here's the reality: most people who pick up a camera shoot the same three subjects, from the same angle, using the same settings, for months on end. Then they wonder why their photos all look identical.
Photography exercises fix that. They're structured creative challenges that give you a specific constraint — one lens, one subject, one location — during a practice session. That constraint forces intentional decisions instead of habitual point-and-click behavior. Because they're built around creative thinking rather than equipment, they work equally well with a smartphone, a kit lens, or a $4,000 mirrorless body.
I've been shooting professionally for eight years, and I still run these drills. When I feel stuck, I don't buy new gear. I set a constraint and go shoot.
Tip — Creativity Over Gear > > Every exercise below is designed around creative thinking, not equipment. A smartphone, a kit lens, or a high-end mirrorless will all build your visual instinct just as effectively. Do not let gear be your excuse.
Why Constraints Make You a Better Photographer
When you can shoot anything, from anywhere, with any lens, your brain stalls. Too many options. Constraints strip that noise away so your creative energy goes into seeing rather than choosing settings.
A few reasons these exercises actually work:
- Limits remove decision paralysis. If you can only use a 50mm prime, you stop fiddling with zoom and start moving your feet.
- Classic drills like "Ten of One" and "24 Frames, One Spot" have circulated in photography communities for generations because they consistently produce breakthroughs.
- Focused, repeatable practice with clear feedback is the pattern behind deliberate practice research — the same idea that separates people who plateau from people who keep improving.
- Progress is qualitative. Over weeks and months, you'll start pre-visualizing shots before you raise the camera. That's the marker. Not a number of days.
- Repeating the same exercise in a new location, season, or light condition is where transferable instinct is built.
Do these consistently. That's the whole trick.
All 25 Exercises at a Glance (Quick-Reference Table)
Scan this table, pick one, and go shoot. Every exercise has a difficulty, a time estimate, and a gear note so you can plan a session in under a minute.
!Infographic summary table of 25 photography exercises showing exercise name, skill goal, difficulty, time needed, and gear required
| # | Exercise Name | Skill Goal | Difficulty | Time Needed | Gear Needed |
|---|---|---|---|---|---|
| 1 | Stand in One Spot (24 Frames) | Composition | Beginner | 30 min | Any camera |
| 2 | Four Corners | Composition | Beginner | 20 min | Any camera |
| 3 | Leading Lines Only | Composition | Beginner | 30 min | Any camera |
| 4 | Negative Space Hunt | Composition | Beginner | 20 min | Any camera |
| 5 | Frame Within a Frame | Composition | Intermediate | 30 min | Any camera |
| 6 | Shadow-Only Photographs | Light | Beginner | 20 min | Any camera, natural light |
| 7 | One Scene, Three Times of Day | Light | Intermediate | Half day | Any camera, tripod helpful |
| 8 | Natural Light Portraits | Light | Beginner | 30 min | Any camera |
| 9 | Silhouette Challenge | Light | Beginner | 20 min | Any camera |
| 10 | Complementary Color Hunt | Light / Color | Beginner | 30 min | Any camera |
| 11 | Ten of One | Creativity | Beginner | 20 min | Any camera, smartphone OK |
| 12 | One Prime Lens All Day | Creativity | Intermediate | Half day | Prime lens only |
| 13 | No Editing Challenge | Creativity | Beginner | 30 min | Any camera |
| 14 | Genre Switch for a Day | Creativity | Intermediate | Half day | Any camera |
| 15 | Black and White Only | Creativity | Beginner | 30 min | Any camera |
| 16 | Tell a Story in 5 Frames | Storytelling | Beginner | 1 hour | Any camera, smartphone OK |
| 17 | Capture Culture in Your Neighborhood | Storytelling | Intermediate | 1 hour | Any camera |
| 18 | Embracing Chaos | Storytelling | Intermediate | 1 hour | Any camera |
| 19 | One Location, One Month | Storytelling | Intermediate | Ongoing (weekly) | Any camera |
| 20 | Portrait of a Stranger | Storytelling | Advanced | 1 hour | Any camera |
| 21 | Manual Mode Only | Technical | Intermediate | 1 hour | Camera with manual mode |
| 22 | Depth of Field Spectrum | Technical | Intermediate | 30 min | Camera with aperture control |
| 23 | Freeze It or Blur It | Technical | Intermediate | 30 min | Camera with shutter control, tripod helpful |
| 24 | Nine Elements of a Scene | Technical | Intermediate | 1 hour | Any camera |
| 25 | Two Trips, One Roll Mindset | Technical | Advanced | Half day | Any camera |
Tip — Jump to Any Category > > Click any category heading in the table of contents to jump straight to the skill area you want to work on, or scroll through all 25 exercises in order.
Composition Exercises (Exercises 1–5)
Composition is where most beginners plateau. You can nail exposure and still make a boring photo if your frame is unintentional. These five drills train your eye to see structure — framing, leading lines, rule of thirds, negative space, and visual balance — before you press the shutter.
Example — What You Will Learn > > Composition exercises train five specific skills: intentional framing, using leading lines, applying (and breaking) the rule of thirds, working with negative space, and balancing visual weight in the frame. Start here if your photos feel "fine" but never memorable.
If any of these terms are new, most solid composition primers cover them well — MasterClass has a straightforward composition overview worth reading before you go shoot.
Exercise 1 — Stand in One Spot (24 Frames, One Location)
Difficulty: Beginner | Time: 30 minutes | Gear: Any camera or smartphone
Steps:
- Choose one spot — indoors or outdoors. Anywhere. Your kitchen counts.
- Plant your feet. Do not move them for the entire session.
- Take 24 distinct photos by changing only angle, focal length (or physical zoom), framing, and subject distance.
- Review all 24 before deleting anything.
What you will learn: This forces you to exhaust every compositional possibility in a single scene. Most beginners run out of ideas around frame 12. That's exactly where creative thinking starts, because your brain has to work harder for frames 13 through 24.
Bonus difficulty: Cut the target to 12 frames instead of 24. And try it at golden hour to add changing light as a second variable.
This is a classic exercise commonly practiced by photographers across generations — nobody owns it.
Exercise 2 — Four Corners
Difficulty: Beginner | Time: 20 minutes | Gear: Any camera
Steps:
- Find a scene with one clear subject.
- Take five photos — one with the subject in each corner of the frame, plus one dead-centered.
- Compare all five side by side.
What you will learn: This directly teaches how subject placement changes emotional tone. A subject in the bottom-left feels different from the same subject in the top-right. Centered feels stable but often static. You'll internalize the mood-shifting power of negative space fast.
Exercise 3 — Leading Lines Only
Difficulty: Beginner | Time: 30 minutes | Gear: Any camera
Steps:
- Pick any environment — street, park, office lobby, parking garage.
- Photograph only scenes where a strong natural line (a road, fence, hallway, railing, river) leads the eye toward the main subject.
- Do not take a shot if no line is present.
What you will learn: Composition through directional flow. You'll start pre-visualizing geometry — seeing the lines before you raise the camera. That mental habit is what makes street and architectural photographers look effortless.
Exercise 4 — Negative Space Hunt
Difficulty: Beginner | Time: 20 minutes | Gear: Any camera
Steps:
- For every frame this session, at least 60% of the image must be empty — sky, wall, floor, or water.
- Your subject occupies the remaining minority.
- Shoot 15–20 frames minimum.
What you will learn: Visual breathing room, minimalism, and how isolation makes a subject louder. This is the drill that killed my habit of filling every frame edge to edge with "stuff."
Exercise 5 — Frame Within a Frame
Difficulty: Intermediate | Time: 30 minutes | Gear: Any camera
Steps:
- Hunt for natural or architectural frames — doorways, windows, arches, low tree branches, a tunnel opening.
- Position your subject inside that secondary frame within your photo.
- Shoot at least 10 frame-within-frame compositions.
What you will learn: Layered composition, depth, and how to draw a viewer's eye through multiple planes. This is the exercise that makes a flat two-dimensional image feel three-dimensional.
Move on to light next — because composition without light awareness is only half the equation.
Light and Exposure Exercises (Exercises 6–10)
The best answer to "how do I practice seeing light in photography" is simple: photograph only the light itself for a session. Strip away the subject and focus on how light behaves — direction, intensity, color, and the shadows it casts.
Tip — Shadows Are Subjects Too > > In every light exercise, the absence of light is just as compositionally powerful as the highlight. Before you raise the camera, look down and sideways for cast shadows. Half the frames I keep from a walk are pure shadow.
Exercise 6 — Shadow-Only Photographs
Difficulty: Beginner | Time: 20 minutes | Gear: Any camera; midday sun ideal
Steps:
- Go outside on a sunny day between roughly 10am and 2pm.
- Photograph only the shadows — the object casting the shadow should not appear in frame, or appear only minimally at the edge.
- Shoot 15 frames minimum.
What you will learn: Isolating shadow trains your eye to see light direction, intensity, and quality independent of the subject. Once you see shadows as subjects, you never stop seeing them.
!Long dramatic shadow of a bicycle cast across a sunlit pavement, an example of a shadow-only photography exercise
Exercise 7 — One Scene, Three Times of Day
Difficulty: Intermediate | Time: Half day | Gear: Any camera, tripod helpful
Steps:
- Pick one location — a bench, a building exterior, a specific window, a tree.
- Photograph it from the exact same position at dawn, midday, and dusk.
- Compare all three side by side.
What you will learn: This might be the single most powerful visual education exercise on this list. You'll see how dramatically light changes mood, color temperature, and shadow direction across a single day. I've done this in the same alley in Portland maybe 20 times, and I still learn something new.
Exercise 8 — Natural Light Portraits (No Flash)
Difficulty: Beginner | Time: 30 minutes | Gear: Any camera
Steps:
- Ask a willing subject to sit near a window or step outside with you.
- Shoot three sets: subject facing the light, side-lit (subject turned 90° to the light), and backlit (light behind them).
- No flash. No reflectors. Just what's already there.
What you will learn: The practical difference between diffused and direct light, how catch-lights appear in the eyes, and how distance from a window controls softness. Once you feel this in a portrait, you'll never shoot on-camera flash again for anything that matters.
Exercise 9 — Silhouette Challenge
Difficulty: Beginner | Time: 20 minutes | Gear: Any camera
Steps:
- Shoot at golden hour or against a bright window during the day.
- Meter for the bright background — not the subject.
- Position your subject between you and the light so they render as a pure black silhouette.
What you will learn: Exposure compensation, intentional underexposure, and the storytelling power of shape when detail is removed. A silhouette that reads instantly is one of the hardest tests of compositional clarity.
Exercise 10 — Complementary Color Hunt
Difficulty: Beginner | Time: 30 minutes | Gear: Any camera
Steps:
- Walk through any neighborhood with color pairs in mind: red/green, blue/orange, yellow/purple.
- Photograph only scenes where these pairs appear naturally together.
- Shoot 15 frames minimum.
What you will learn: Color theory applied in-camera. You'll start recognizing color relationships before pressing the shutter instead of hoping they show up later in Lightroom.
Tip: A polarizing filter can deepen sky blues and cut reflections outdoors — Ken Rockwell's polarizer guide is the clearest explanation of how they work.
Next up: exercises built specifically around removing options.
Creativity and Constraint Exercises (Exercises 11–15)
Constraint-based photography practice means artificially removing choices — one lens, one subject, one aspect ratio, no editing — so your creative attention sharpens. This is the category most working photographers still return to when they feel stuck.
Tip — Why Limits Unlock Creativity > > Artificial restrictions kill the paradox of choice. When you can only shoot with one lens or one subject, your creative energy focuses instead of scattering. This is the same principle behind deliberate practice — narrow the problem, and your brain solves it faster.
Exercise 11 — Ten of One (Ten Photos, One Small Subject)
Difficulty: Beginner | Time: 20 minutes | Gear: Any camera or smartphone
Steps:
- Pick any ordinary small object — a coffee cup, a leaf, a shoe, an apple.
- Without moving to a new room or location, create exactly 10 distinct photographs of that object.
- Vary angle, distance, focus point, orientation, and light source each time.
- Review all 10 before editing anything.
What you will learn: Exhausting one subject forces exploration of macro, abstraction, framing, and light — the fundamental toolkit of any photographer. If you can make 10 genuinely different photos of a coffee cup, you can make 10 different photos of anything.
Bonus difficulty: Use only a fixed focal length prime lens and no flash. Or push it to 20 photos.
This is a classic exercise commonly practiced by photographers — no single inventor to credit.
!Grid of ten creative photographs of a single coffee cup taken from different angles, distances, and light conditions
Exercise 12 — One Prime Lens All Day
Difficulty: Intermediate | Time: Half day | Gear: Camera with one prime lens (35mm or 50mm are common suggestions; any fixed focal length works)
Steps:
- Leave every other lens at home. This part matters.
- Shoot an entire outing with the one prime — no zooming, no swapping.
- If a shot doesn't fit, move your feet. Get closer or step back.
What you will learn: Physical movement as a compositional tool. Prime lenses teach visual discipline and help you internalize focal length intuition — after a few sessions, you'll know before raising the camera whether a scene is a 35mm shot or a 50mm shot.
Exercise 13 — No Editing Challenge
Difficulty: Beginner | Time: 30 minutes | Gear: Any camera
Steps:
- Shoot a set of 20 photos with one rule: zero post-processing allowed.
- Whatever comes out of camera is the final image. Straight to social, print, or archive.
- No cropping, no exposure fix, no color tweak.
What you will learn: This forces attention to exposure, white balance, and composition at the moment of capture instead of relying on editing as a safety net. Editing is not a crutch when used well — but it becomes one fast, and this drill breaks the habit.
Exercise 14 — Genre Switch for a Day
Difficulty: Intermediate | Time: Half day | Gear: Any camera
Steps:
- Identify your default genre. Portraits? Landscapes? Street?
- Spend a full session shooting the opposite. Landscape shooters do macro. Portrait shooters do architecture. Street shooters do food photography at home.
- Do not switch back mid-session.
What you will learn: Cross-genre practice transfers compositional instincts to unfamiliar subjects and breaks habitual seeing patterns. Some of my best portrait framing ideas came from a month I spent shooting only landscapes.
Exercise 15 — Black and White Only
Difficulty: Beginner | Time: 30 minutes | Gear: Any camera (shoot RAW + JPEG or enable a monochrome preview mode for immediate feedback)
Steps:
- Commit the entire session to black and white — either shoot in-camera monochrome or vow to convert everything in post.
- Look for contrast, texture, and form. Not color.
- Shoot at least 20 frames.
What you will learn: Removing color forces your attention onto tone, shape, and light quality — the foundational language of photography. Every great color photograph is also a strong black and white photograph.
Constraint work builds creativity. Storytelling work builds meaning.
Storytelling and Street Exercises (Exercises 16–20)
A good photography assignment for beginners involving people or places focuses on capturing a sequence or a sense of location rather than a single hero shot. The five exercises below build documentary instincts — reading a scene, sequencing images, and photographing culture with respect.
Example — You Do Not Need to Travel Far > > The most compelling storytelling exercises happen in familiar neighborhoods. The ordinary becomes extraordinary when you observe closely. A local market, a daily commute, a single street corner — any of these contain enough visual stories for hours of practice.
Exercise 16 — Tell a Story in 5 Frames
Difficulty: Beginner | Time: 1 hour | Gear: Any camera or smartphone
Steps:
1. Pick a real-world situation — a market stall, a park bench, a coffee shop, a soccer practice. 2. Shoot exactly five images that together tell a complete visual story: - A wide establishing shot (where are we?) - A medium shot (who is here?) - A close detail (what matters?) - An action moment (what's happening?) - A concluding frame (how does it end?) 3. Sequence them in that order. Do not shoot 50 frames and pick five — commit to five.
What you will learn: Visual sequencing — how photojournalists and documentary photographers actually structure narrative. This is also the fastest way to build a portfolio series that isn't just a random gallery.
Exercise 17 — Capture Culture in Your Neighborhood
Difficulty: Intermediate | Time: 1 hour | Gear: Any camera; a wide lens (20mm–28mm range) is helpful but any focal length works
Steps:
- Walk through a familiar neighborhood you usually rush past.
- Photograph signs, shop windows, murals, food, clothing, and architecture that reflect the local culture.
- Aim for 15–20 images that, viewed together, say something about the place.
What you will learn: A documentary eye — how to photograph environment as character, and sensitivity to the small details that define a place. Fstoppers has a great short piece on neighborhood photography exercises that's worth a read before you head out.
Exercise 18 — Embracing Chaos (High-Activity Scene)
Difficulty: Intermediate | Time: 1 hour | Gear: Any camera
Steps:
- Find a busy, high-energy scene — a farmer's market, a festival, a busy intersection, a train platform at rush hour.
- Do not direct any subjects. Do not ask people to move.
- Photograph the chaos, treating movement, layering, and visual noise as compositional elements instead of problems.
What you will learn: Finding order within chaos, reading fast-moving scenes, and developing framing speed. This is where street photographers get their reflexes.
Exercise 19 — One Location, One Month
Difficulty: Intermediate | Time: Ongoing — weekly for one month | Gear: Any camera
Steps:
- Pick a single public location. A park bench, a coffee shop patio, a specific bus stop.
- Visit once a week for four consecutive weeks, at roughly the same time of day.
- Photograph the location each visit. Do not switch spots — that defeats the purpose.
What you will learn: How weather, season, light, and human activity change one scene. Long-term observation builds a depth of visual awareness that a single session cannot. This is the exercise that separates hobbyists from documentary photographers.
Exercise 20 — Portrait of a Stranger (With Permission)
Difficulty: Advanced | Time: 1 hour | Gear: Any camera; a 50mm–85mm range is helpful but optional
Steps:
- Approach someone in a public space.
- Introduce yourself, explain you're a photographer practicing portraiture, and ask permission.
- If they say yes, take a few genuine frames — do not over-direct. Thank them and offer to send the images.
- If they say no, thank them anyway and move on. No pressure, ever.
What you will learn: Human connection, how authentic expression differs from posed shots, and the social confidence that defines strong documentary and street photographers. The first ask is the hardest. It gets easier fast.
Important: Photography laws and cultural norms around photographing people in public vary significantly by country, state, and even city. Always obtain consent and research local guidelines before this exercise.
Storytelling work stretches your vision. Technical work sharpens your control.
Technical Skill Exercises (Exercises 21–25)
Here's where you build the camera-handling reflexes that let you execute a vision without fumbling. Manual mode, depth of field, motion, and the classic nine visual elements.
Tip — Beginner Tip: Learn Manual Mode First > > If aperture, shutter speed, and ISO aren't second nature yet, spend an hour on a foundational exposure guide before attempting exercises 21–23. You'll get far more out of the drills. DPreview and Digital Photography School both have solid beginner walkthroughs.
The five technical exercises in short:
- Shoot an entire session in full manual mode.
- Compare the same shot across three apertures.
- Freeze motion with fast shutter, then blur it with slow shutter.
- Capture all nine visual elements in one outing.
- Limit yourself to 36 exposures for a half-day shoot.
Exercise 21 — Manual Mode Only
Difficulty: Intermediate | Time: 1 hour | Gear: Camera with manual mode (DSLR, mirrorless, or advanced compact)
Steps:
- Set your camera to full manual mode. No Auto. No Program. No Aperture or Shutter Priority.
- Shoot an entire session — 30 minutes minimum — making every exposure decision yourself.
- Vary your lighting conditions. Move from shade into sun, indoors to outdoors.
What you will learn: Hands-on feel for the exposure triangle — how aperture, shutter speed, and ISO push and pull against each other in real conditions. This is the exercise that turns "I know what ISO does" into "I know exactly which ISO I need right now."
!Educational diagram showing the nine visual elements of a photograph: light, shadow, line, shape, form, texture, color, size, and depth
Exercise 22 — Depth of Field Spectrum
Difficulty: Intermediate | Time: 30 minutes | Gear: Camera with aperture control
Steps:
- Place a subject roughly six feet in front of a background with visible texture (a bookshelf, a leafy tree, a brick wall).
- Shoot three frames from the same position: widest aperture (e.g., f/1.8 or f/2.8), mid aperture (f/5.6 or f/8), smallest aperture (f/16 or f/22).
- Compare all three side by side.
What you will learn: How aperture controls background separation, and when to choose storytelling isolation (shallow depth of field) versus environmental context (deep depth of field).
Exercise 23 — Freeze It or Blur It (Motion Exercise)
Difficulty: Intermediate | Time: 30 minutes | Gear: Camera with shutter speed control; tripod helpful for blur shots
Steps:
- Find a moving subject — a fountain, traffic, a cyclist, waves.
- Shoot the same scene at a fast shutter speed (1/1000 or faster) to freeze motion.
- Then shoot it at a slow shutter speed (1/15 or slower) to intentionally blur motion. Use a tripod or brace against a wall.
- Compare the two emotional registers.
What you will learn: Shutter speed as a storytelling tool. The exact same waterfall can feel violent or serene depending on the shutter — that's the lesson.
Exercise 24 — Nine Elements of a Scene
Difficulty: Intermediate | Time: 1 hour | Gear: Any camera
Steps:
- Set yourself the task of capturing all nine classic visual elements in a single outdoor session: light, shadow, line, shape, form, texture, color, size, and depth.
- Each element gets at least one dedicated image where it's the primary subject.
- Review the set together at the end.
What you will learn: A comprehensive compositional vocabulary. Once you can isolate each element on demand, you can combine them intentionally in every future shot.
Exercise 25 — Two Trips, One Roll Mindset
Difficulty: Advanced | Time: Half day | Gear: Any camera
Steps:
- Limit yourself to exactly 36 exposures for the entire outing — mimicking a 35mm film roll.
- When you hit 36, you're done. Go home.
- Review all 36 before deleting or editing anything.
What you will learn: Deliberate, intentional image-making. This constraint kills the spray-and-pray habit that digital cameras encourage and forces careful pre-visualization before every shutter press. I still run this one about once a month. It always tightens my work.
Now — if you're reading all of this thinking "I don't own a real camera," good news. Almost every exercise above works on your phone.
Photography Exercises You Can Do With a Smartphone
!Person holding a smartphone horizontally to photograph a colorful flower, practicing a composition exercise outdoors
Yes — you can do nearly every exercise in this guide with just a smartphone. Sensor size does not train your eye. Creative decision-making does.
Tip — Your Best Camera Is the One You Have With You > > Creative vision, not sensor size, determines whether an image works. Modern smartphone cameras produce compelling results in nearly every exercise here. The constraint is the practice — not the tool.
Best Exercises From This Guide for Phone Photographers
- All five composition exercises (Exercises 1–5) are fully smartphone-compatible. Portrait mode approximates shallow depth of field, and the built-in grid overlay handles rule-of-thirds framing.
- Shadow-Only Photographs (Exercise 6) and the Silhouette Challenge (Exercise 9) actually shine on smartphones — modern phones handle high-contrast scenes exceptionally well.
- Ten of One (Exercise 11), the No Editing Challenge (Exercise 13), and Black and White Only (Exercise 15) are ideal phone drills. Pick a subject, set the constraint, go.
- Tell a Story in 5 Frames (Exercise 16) is perfect on a phone. Social media and photo essay apps make sharing a five-frame sequence effortless.
- For technical exercises (21–23), use your phone's Pro or Manual mode if available. Most flagship phones from the last few years expose full ISO and shutter speed control.
Smartphone-Only Bonus Exercise — The Square Format Challenge
Difficulty: Beginner | Time: 20 minutes | Gear: Smartphone only
Steps:
- Open your phone's camera and switch the aspect ratio to square (1:1).
- Shoot an entire session in that format. No cheating back to 4:3 or 16:9.
- Aim for 15–20 frames.
What you will learn: How aspect ratio changes subject placement, balance, and visual tension. Square framing removes the default horizontal bias and forces genuinely fresh compositional decisions. It's a tiny constraint with dramatic results.
How to Get the Most From Your Photography Practice Sessions
Doing the exercises is half the work. Structuring how you practice — and how you review — is what turns 25 drills into lasting instinct.
Here's the process I use for every practice session:
- Pick one exercise that targets a specific weakness. Do not stack three exercises into one session. One drill, one skill.
- Set your constraints before leaving home. One lens, one location, one subject. Decide before you walk out the door.
- Shoot the full assignment without breaking the constraint. The moment you cheat — grabbing a second lens, wandering off — the exercise stops working.
- Review every image before editing anything. This is the step almost everyone skips.
- Repeat the exercise in a new location or lighting condition. One pass builds awareness. Three passes build instinct.
Warning — Review Before You Edit > > Jumping straight into Lightroom or your favorite phone editing app skips the most important learning step: reviewing what you actually saw and captured. Always look at the full set of unedited frames first. Ask yourself what worked, what didn't, and why. Then, and only then, open the editor.
Before Every Practice Session Checklist:
- Choose one exercise that targets a specific weakness — no multi-tasking
- Set your constraints before leaving home (one lens, one location, one subject)
- Decide your target number of frames for the session
- Fully charge your battery and clear your memory card
- Leave extra lenses and accessories behind if the exercise calls for a constraint
How Often Should You Do Photography Exercises?
- Consistency beats frequency. Two focused 30-minute sessions per week will build your eye faster than one four-hour marathon per month.
- Progress is qualitative. Trust that consistent practice over weeks and months trains your visual instincts. There is no honest "improve in 7 days" timeline.
- Repeat each exercise in at least two or three different locations or lighting conditions before moving to the next.
- Keep a simple photo journal. One line per session: exercise done, one thing learned, one thing to try differently next time. That's it.
How to Know You Are Improving
- Compare your first attempt at an exercise to your third or fourth attempt at the same exercise. Look for more intentional framing and fewer throwaway shots.
- Share your exercise sets in photography communities — PetaPixel and B&H Explora both have active communities and educational resources. Constructive critique accelerates learning faster than solo practice.
- Notice when you start pre-visualizing shots before raising the camera. That instinctive framing is the clearest sign your eye is developing.
- If you get bored of a particular exercise, that usually means you've internalized the lesson. Move on. Come back to it in six months and see how differently you shoot it.
Free Printable Photography Exercise Checklist
Here's the reality: exercises only work if you actually do them. Print this list, stick it on your fridge, and check them off as you go.
!Preview mockup of the downloadable photography exercises PDF checklist showing all 25 exercise names with checkboxes
25 Photography Exercises — Printable Checklist:
- Exercise 1 — Stand in One Spot (24 Frames)
- Exercise 2 — Four Corners
- Exercise 3 — Leading Lines Only
- Exercise 4 — Negative Space Hunt
- Exercise 5 — Frame Within a Frame
- Exercise 6 — Shadow-Only Photographs
- Exercise 7 — One Scene, Three Times of Day
- Exercise 8 — Natural Light Portraits
- Exercise 9 — Silhouette Challenge
- Exercise 10 — Complementary Color Hunt
- Exercise 11 — Ten of One
- Exercise 12 — One Prime Lens All Day
- Exercise 13 — No Editing Challenge
- Exercise 14 — Genre Switch for a Day
- Exercise 15 — Black and White Only
- Exercise 16 — Tell a Story in 5 Frames
- Exercise 17 — Capture Culture in Your Neighborhood
- Exercise 18 — Embracing Chaos
- Exercise 19 — One Location, One Month
- Exercise 20 — Portrait of a Stranger
- Exercise 21 — Manual Mode Only
- Exercise 22 — Depth of Field Spectrum
- Exercise 23 — Freeze It or Blur It
- Exercise 24 — Nine Elements of a Scene
- Exercise 25 — Two Trips, One Roll Mindset
Tip — Download the PDF > > Grab the printable PDF version of this checklist to tape above your desk or tuck into your camera bag. Tracking progress visually is one of the simplest ways to stay consistent over the months it takes to build real visual instinct.
Frequently Asked Questions About Photography Exercises
What are photography exercises?
Photography exercises are structured creative challenges that give you a specific constraint — such as one subject, one location, or one lens — to work within during a practice session. The constraint forces intentional creative decisions rather than aimless shooting, building compositional instinct and technical control over time.
How often should I practice photography exercises?
Two or three focused practice sessions per week — even as short as 20 to 30 minutes each — will build your skills more effectively than infrequent marathon sessions. Consistency over weeks and months is what trains your eye. There is no shortcut timeline.
Can I do photography exercises with a smartphone?
Yes. Nearly every exercise in this guide is fully compatible with a smartphone camera. Composition, shadow, storytelling, and constraint-based exercises require creative decision-making, not sensor size. Use your phone's Pro or manual mode if available for exercises involving shutter speed and ISO control.
What is the best photography exercise for absolute beginners?
The Ten of One exercise is widely recommended for beginners. Pick one small everyday object and create 10 distinct photographs of it without moving to a new location. This single exercise teaches angle, distance, framing, light, and abstract thinking all at once — with zero gear requirements.
Do I need expensive camera gear to do photography exercises?
No. Every exercise in this guide is designed to work with any camera, including a smartphone. Gear suggestions like a prime lens or tripod are optional enhancements, not requirements. The creative constraint is the practice tool — not the equipment.
How do photography exercises actually improve my skills?
Exercises improve your skills by directing your attention to specific visual problems — framing, light, motion, color — rather than allowing your brain to default to familiar habits. Repeated deliberate practice with focused constraints trains your eye to pre-visualize shots before raising the camera, which is the core skill that separates strong photographers from casual snapshooters.
How do I know which exercise to start with?
Use the quick-reference table at the top of this guide to identify exercises labeled Beginner difficulty that match a skill you want to improve — composition, light, creativity, or storytelling. Start with Exercise 11 (Ten of One) or Exercise 1 (24 Frames in One Spot) if you're unsure — both are universally applicable and gear-free.
Sources
- 13 Creative Exercises for Photographers — B&H Explora
- 3 Photography Exercises Worth Trying in Your Neighborhood — Fstoppers
- Digital Photography Review (DPreview)
- PetaPixel — Photography News and Education
- The Science of Deliberate Practice — NYU
- Photography Composition Tips — MasterClass
- How to Use a Polarizing Filter — Ken Rockwell
- Digital Photography School