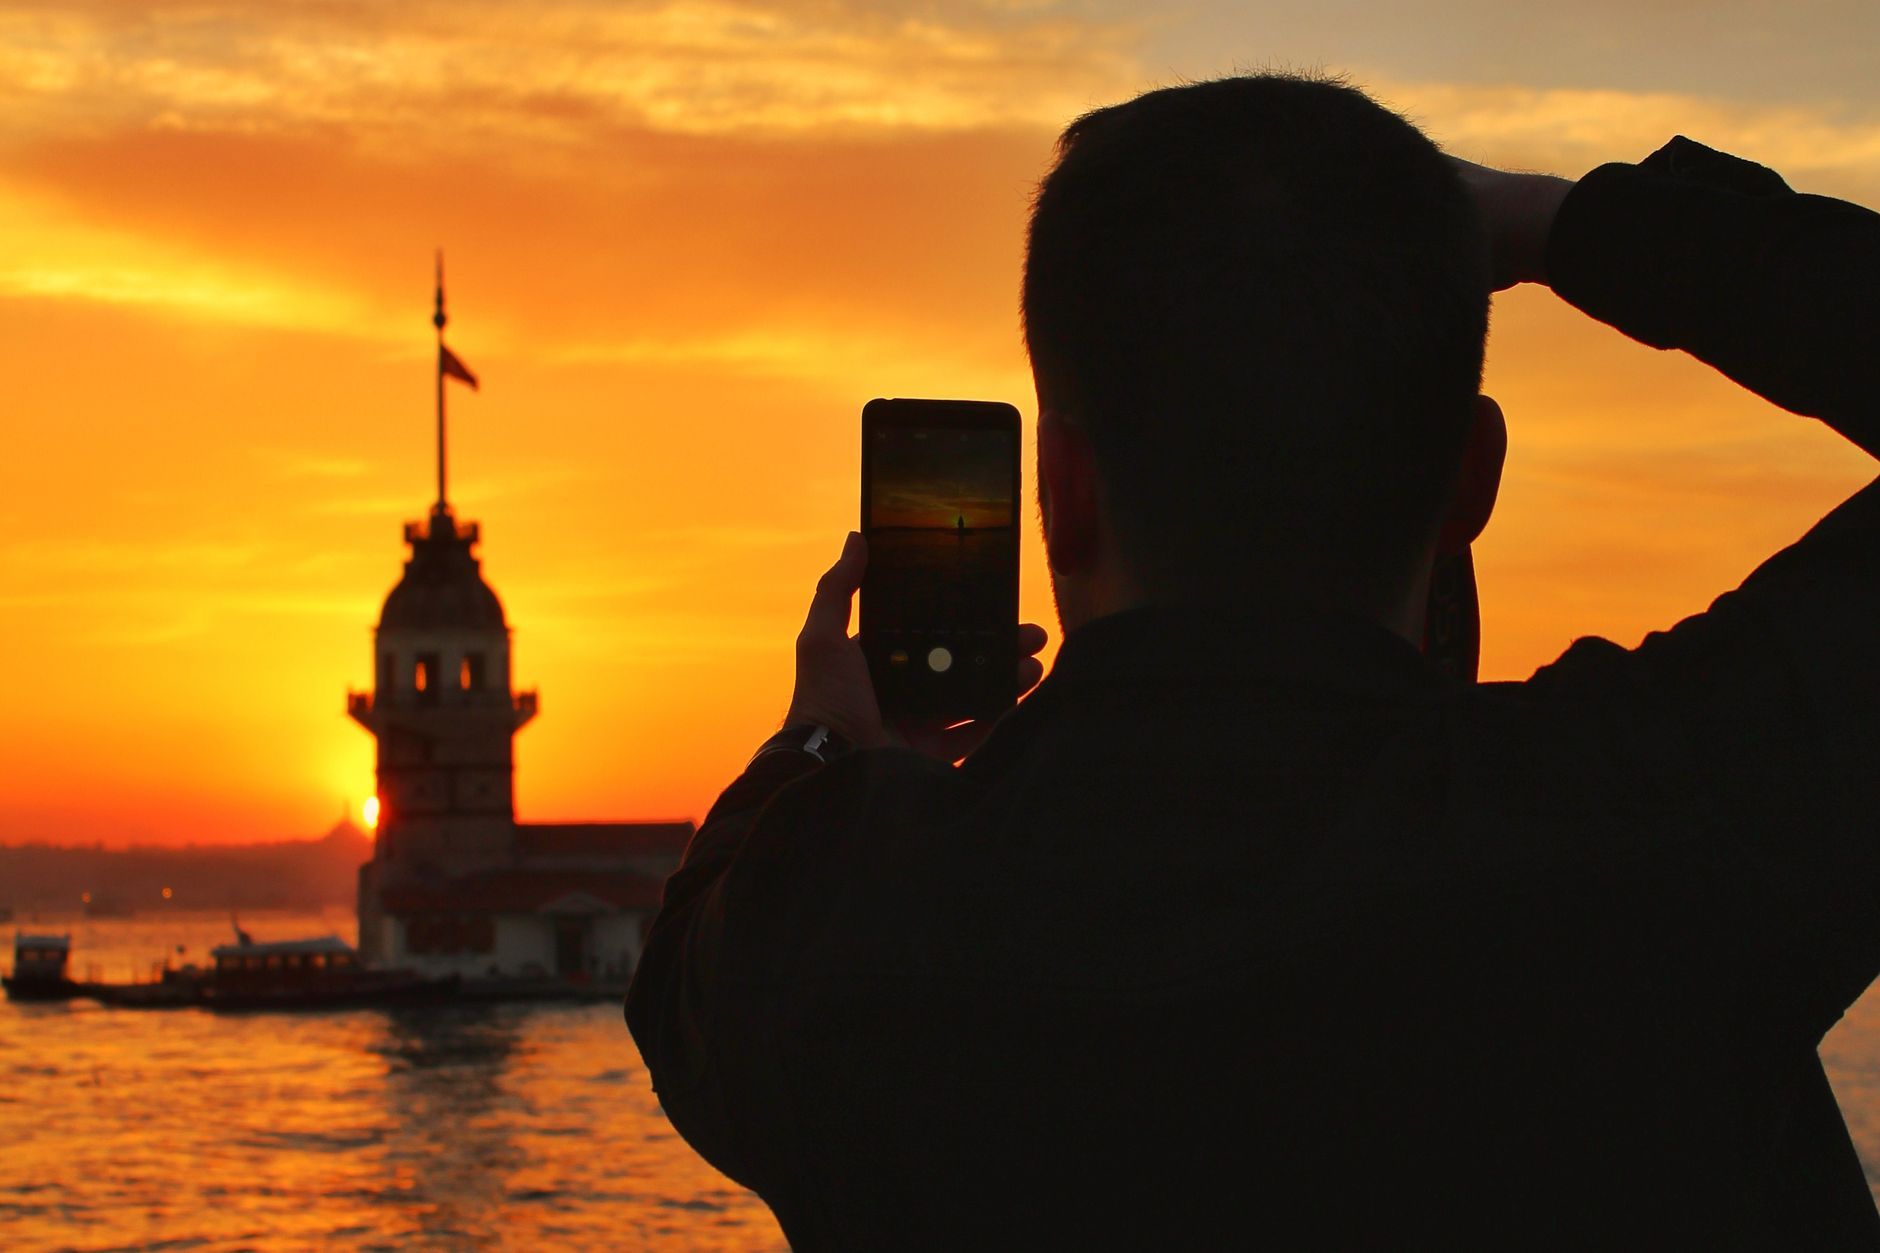
What is the best way to take better photos with a phone in 2026?
Quick answer: The fastest way to improve your phone photos is to master a few fundamentals before you tap the shutter: clean your lens, tap to focus, seek soft natural light, and use your camera grid for composition. Once those habits are locked in, layering in camera modes like HDR and Night Mode, avoiding digital zoom, and finishing with a quick edit in Lightroom Mobile or Snapseed will produce results that rival shots taken on dedicated cameras.
Learn how to take better photos with a phone using 12 pro tips covering lighting, composition, focus, camera modes, and editing — with before-and-after examples.
Here's the reality: modern phones are absurdly capable. The gap between a forgettable snapshot and a photo that stops someone mid-scroll almost never comes down to hardware. It comes down to seven or eight small decisions you make in the ten seconds before you press the shutter.
This guide walks you through 12 practical tips that work on any modern iPhone or Android. You'll get a quick 60-second capture workflow, a camera-modes comparison table, genre-specific advice for portraits, food, landscapes, and low light, plus a simple editing routine you can run in under two minutes. Beginners can start at the top. If you've been shooting for a while, jump to camera modes or editing.
For context on how much phone photography has taken over: according to CIPA shipment data, standalone camera shipments have fallen dramatically since 2010 as smartphone computational photography improved. Your phone is a legitimate photographic tool — you just need to treat it like one.
Key Takeaways
- Always wipe your lens before shooting — smudges kill sharpness more than any camera limitation.
- Tap your subject to lock focus and drag to set exposure before every shot.
- Soft, directional natural light is the single biggest quality upgrade you can make for free.
- Use the rule-of-thirds grid to compose stronger, more dynamic images instantly.
- Avoid digital zoom entirely; move your feet or switch to an optical telephoto lens.
- Match camera modes to scenes: HDR for contrast, Night Mode for low light, Portrait for depth.
- A brief edit in Lightroom Mobile or Snapseed takes a good shot to a great one in under two minutes.
Why Technique Beats Hardware
!Person photographing a sunlit landscape outdoors with a smartphone during golden hour
Does phone camera quality matter? Yes, at the margins. But lighting, composition, and focus technique account for the vast majority of the visible difference between an amateur and a professional-looking phone photo. You could hand two people the exact same phone in the exact same scene and end up with two completely different images.
I've tested this personally with photography students. Same iPhone, same coffee shop, same subject. One person's photo looked flat and cluttered. The other looked like it belonged on a magazine cover. The camera didn't change. The decisions did.
Good to Know: CIPA reports that standalone camera shipments have declined steeply as smartphone computational photography advanced. Phones aren't a compromise anymore — they're the primary camera for most photographers on the planet. Reinforced by ongoing hardware reviews at DPReview.
What Separates a Snapshot from a Great Phone Photo
Technique is just the set of small decisions you make before and during capture: where you stand, where the light falls, what's in the background, what you tap to focus on. None of these require a better phone.
Picture the same golden-hour scene shot two ways. Version A: phone held at chest height, subject centered, sun blasting from behind, no focus tap. Flat, blown-out, forgettable. Version B: phone at eye level, subject on the right third of the frame, light coming from the side, focus locked on the eyes. Suddenly you have a portrait worth sharing.
The tips below are ordered from quickest to implement to most advanced. Start at the top and you'll see improvements today.
Step-by-Step: How to Take a Great Phone Photo in 60 Seconds
Here's the whole workflow. Run through it every time until it becomes automatic.
The 8-Step Capture Workflow
- Wipe the lens with a soft microfibre cloth.
- Turn on the camera grid in your camera settings.
- Tap your main subject to set focus.
- Drag the exposure slider up or down to balance brightness.
- Select the appropriate mode — HDR, Night, Portrait, or standard.
- Apply the rule of thirds using the grid overlay.
- Steady the phone — brace against a surface or use a tripod.
- Review the shot on a larger view; if it's not sharp, reshoot.
Quick Pre-Shot Checklist:
- Lens wiped clean
- Grid turned on
- Subject tapped to lock focus
- Exposure slider adjusted
- Correct camera mode selected
- Phone steady or braced
- Background checked for distractions
Pro Tip: Take three shots of every scene, varying the exposure or angle slightly. Storage is cheap. Regret is expensive. This one habit dramatically increases how many keepers you walk away with.
Setup Basics: Before You Press the Shutter
Why are your phone photos blurry? Nine times out of ten, one of three things is happening: your lens is smudged, you're moving the phone during capture, or the camera locked focus on the wrong part of the scene.
- Dirty lens → wipe with a microfibre cloth before every session.
- Camera shake → brace both elbows against your body or set the phone on a surface.
- Missed focus → tap your subject before pressing the shutter.
!Finger tapping smartphone screen to lock focus with the exposure adjustment slider visible
Clean Your Lens (The Most Overlooked Fix)
Your phone lives in a pocket, a bag, or gripped by fingers that just ate a sandwich. Lenses collect oil, dust, and fingerprints constantly. A greasy lens produces hazy, low-contrast images that no editing app can fully recover.
Shoot the same scene once with a smudged lens, then again after wiping. The clean version has sharper edges, deeper contrast, and cleaner highlights around bright light sources. It's the single biggest free upgrade you'll ever get.
Make lens-wiping a habit before portraits, food shots, or anything with a bright light source in the frame.
Warning: Don't wipe the lens on your shirt if it's synthetic — fibres can scratch the coating over time. Use a microfibre cloth or the corner of a clean 100% cotton t-shirt.
Enable the Grid and Set Shooting Resolution
On iPhone: Settings → Camera → Grid. On most Android phones: open the camera app, tap the settings gear, toggle Grid Lines. Some Samsung and Pixel devices label it "Composition guides".
Shoot at the highest available resolution. If you edit your photos, consider RAW — Apple's ProRAW is available on iPhone 12 Pro and later, and Google Pixel plus many Android flagships support RAW DNG capture (see Google Photos support for Pixel specifics). Availability varies by device and OS version, so check your manufacturer's documentation.
Turn off Live Photo or Motion mode unless you specifically need it. It bloats file size, complicates editing, and rarely improves the still frame.
Tap to Focus and Adjust Exposure
Tap your subject on the screen. A yellow or white square appears — that's your focus lock. A small sun icon or slider sits next to it. Drag up to brighten, drag down to darken.
This is the fix for the classic phone-photo problem: a bright sky behind your subject causes the camera to auto-expose for the sky, turning your subject into a silhouette. Tap the subject's face, then drag exposure up until the skin tone looks right. The sky may blow out slightly — that's fine, that's what HDR is for.
On most iPhones and Android phones, holding your tap for a second locks focus and exposure (AE/AF Lock on iOS). Handy for posed shots where you don't want the focus to shift.
Composition: How to Frame a Stronger Shot
The rule of thirds divides your frame into a 3×3 grid using two horizontal and two vertical lines. Place your key subject along one of those lines or at one of the four intersection points, and the image immediately feels more balanced and dynamic than a dead-centered shot. The camera grid you turned on earlier makes this effortless — no guesswork.
!Smartphone screen showing rule-of-thirds grid overlay with a subject placed at a grid intersection
Rule of Thirds
The four intersection points are sometimes called "power points" because the eye naturally lands there first. Put a person's eyes on the top-right intersection. Put a horizon on the lower horizontal line if the sky is dramatic, the upper line if the foreground is more interesting.
For a full breakdown of why this works, the New York Institute of Photography has a solid deep dive on the underlying principle.
Example: A landscape with sky in the top third, land in the bottom two-thirds, and a lone tree sitting on the right vertical line. Your eye enters the frame through the tree, travels along the horizon, and rests on the open sky. That's composition working for you, not against you.
Leading Lines and Negative Space
Leading lines are roads, fences, rivers, shadows, staircases — anything that draws the viewer's eye toward your subject. Position yourself so the line starts near a corner and ends at your subject. Instant depth.
Negative space is the empty area around your subject. A person against a plain sky or blank wall reads as intentional and calm. A person against a cluttered wall covered in signs and cables reads as chaotic. If a scene feels cluttered, move — crouch, step left, step right. Ten feet in any direction usually changes everything.
Check your background before you shoot. The classic mistake: a lamp post or tree branch appears to "grow" out of your subject's head because you didn't notice it. Move six inches to your left and it's gone.
Lighting: The Most Powerful Free Tool You Have
What's the best time of day to take phone photos? Golden hour — the roughly 45 to 60 minutes after sunrise and before sunset — produces warm, low-angled, diffused light that flatters almost every subject. That's why every landscape photographer you follow gets up at 5am.
Pro Tip: Overcast days are secretly great. Clouds act like a giant softbox, producing soft, even, shadow-free light that's perfect for portraits and food photography. Don't put your phone away when the sky goes grey.
Golden Hour and Blue Hour
Golden hour happens twice a day. The light is warm (orange/pink), directional, and soft — the exact opposite of harsh midday sun. Skin tones look better, landscapes gain dimension, and shadows become long and cinematic.
Blue hour is the short window before sunrise and after sunset when the sky turns deep blue but there's still enough ambient light to see. It's a favourite for cityscapes because streetlights turn on but the sky isn't fully black yet.
Position yourself so the light source is to the side or slightly behind-and-to-the-side of your subject. Side light creates dimension and shape. Direct front light flattens everything.
Avoid Harsh Midday Sun and Use Windows Indoors
Midday sun (roughly 11am to 3pm depending on season and latitude) creates ugly downward shadows under noses, eyes, and chins. Highlights blow out. Colours look washed. If you can't reshoot at a better time, move your subject into open shade — under a tree, in a doorway, on the shaded side of a building. The light becomes soft and even instantly.
Indoors: put your subject facing a large window. That's your soft light source. Don't shoot into the window unless you specifically want a silhouette.
Never use your phone's built-in flash as a primary light source. It's flat, harsh, produces red-eye, and screams "amateur snapshot". Turn it off in settings and forget it exists.
Camera Modes Explained: Which One Should You Use?
!Side-by-side comparison of the same outdoor scene taken with HDR on versus HDR off on a smartphone
Every camera mode exists to solve a specific problem. Match the mode to the scene and you'll dramatically improve consistency.
| Mode | Best Used For | When to Avoid | iOS / Android Support |
|---|---|---|---|
| Standard / Auto | Everyday shots in good light | Extreme contrast, very low light | Both — universal |
| HDR | High-contrast scenes (bright sky + shaded subject) | Fast-moving subjects | Both — usually automatic on modern devices |
| Night Mode | Genuinely dark environments, cityscapes at night | Daylight or well-lit rooms | Both — Night Sight on Pixel, Night Mode on iPhone 11+ |
| Portrait | People, pets, product hero shots needing background blur | Wide landscapes, group shots at distance | Both — most modern devices |
| Panorama | Wide landscapes, tall architecture | Moving subjects, low light | Both — universal |
| Pro / Manual | Controlled scenes where you want ISO/shutter/WB control | Fast candid moments | Android widely; iPhone via third-party apps |
!Infographic comparing HDR, Night Mode, Portrait, Panorama, and Pro camera modes on a smartphone
HDR vs Night Mode — Quick Rule: HDR is for high-contrast daylight where you need detail in both shadows and highlights. Night Mode is for genuinely dark environments. Using Night Mode in daylight often produces blurry results because it uses a longer exposure that assumes you're shooting at night.
Should You Shoot in RAW?
RAW stores the full sensor data instead of a compressed JPEG. It gives you far more editing latitude — you can recover blown-out skies, lift deep shadows, and correct colour casts that would be locked in on a JPEG.
But RAW files look flat and unedited straight out of the camera. They're a starting point, not a finished photo. If you don't already edit your photos, RAW will feel like extra work for no reward.
Availability varies. Apple ProRAW works on iPhone 12 Pro and later — check the Apple ProRAW support page for the latest compatibility. Google Pixel and many Android flagships shoot RAW DNG — see the Google Photos documentation. Always confirm with your manufacturer.
My honest take: if you're new, shoot HEIC or JPEG first. Learn to edit those. Move to RAW once you're comfortable with Lightroom Mobile or Snapseed.
Pro and Manual Mode
Pro mode (also called Expert, Manual, or Pro on various Android manufacturers) exposes the settings a dedicated camera gives you: ISO (sensor sensitivity), shutter speed (how long the sensor captures light), white balance, and sometimes focus distance.
Practical use case: shooting a static night scene from a tripod. Drop ISO to its lowest value (usually 50 or 100) to minimise noise, then extend shutter speed to 2–5 seconds to let in enough light. Result: a clean, sharp night shot without the noise Night Mode sometimes introduces.
Higher ISO always means more grain. Below roughly 1/60s shutter, handheld shots get shaky — use a tripod. Native Pro mode availability varies wildly on iPhone (usually requires a third-party app like Halide or ProCamera).
Advanced Capture Tips That Make an Immediate Difference
Is optical zoom better than digital zoom on a phone? Yes. Optical zoom uses a dedicated telephoto lens on the phone and captures a full-resolution image at that focal length. Digital zoom just crops and enlarges the existing sensor data, which reduces resolution and sharpness. Always use the optical option (the 2x, 3x, or 5x button, depending on your phone) when it's available, or move closer with your feet.
Stability Hack: Use the volume-up button as your shutter release instead of tapping the on-screen button. Tapping the screen introduces small shakes at the exact moment of capture. Even better — pair a small Bluetooth remote (they're around $10) for zero-touch shooting. This is my default for anything below 1/60s shutter.
Avoid Digital Zoom — Move Your Feet Instead
Digital zoom is software cropping. That's it. Your phone captures the same image and cuts out the middle. You lose resolution every time.
If your phone has a physical telephoto lens (2x, 3x, or 5x on flagship devices), tapping that button switches to the actual optical lens — that's a real zoom. Any zoom beyond the highest optical option is digital, and quality drops fast.
When no telephoto exists, walk closer. Composition improves when you engage with the scene physically instead of pinch-zooming from ten feet away. For serious mobile photographers, add-on lenses from brands like Moment genuinely extend what your phone can do optically.
Stabilize Your Shot and Use Burst Mode
For handheld sharpness: tuck both elbows against your ribcage, exhale slowly, then press the shutter (or volume button). Lean against a wall or door frame for even more stability. Rest the phone on a table, ledge, or backpack when possible.
For anything below 1/60s shutter, Night Mode, long exposures, or time-lapses, a small phone tripod is essential. Compact travel tripods run $15–40 and fit in a jacket pocket.
Burst mode — hold the shutter button (or volume-up on iOS) to fire a rapid sequence of frames. Essential for kids, pets, sports, or anything unpredictable. You'll get one perfectly-timed frame out of ten, which is exactly the point. Review and delete the rejects promptly or you'll fill your storage in a weekend.
Tips by Scene Type: Portraits, Landscapes, Food, and Low Light
Genre changes the rules. Here's what actually works for the four most common scenes.
Portraits
- Use Portrait mode for background blur, but tap on the eye closest to the camera to lock precise focus.
- Shoot at eye level or slightly below. Looking down at people compresses their features unflatteringly.
- Position them near a window or in open shade. Never direct sun on the face.
- Leave small negative space in the direction they're looking — it creates natural "room" in the frame.
- After capture, iPhone and Pixel let you adjust the background blur (depth) in post. Use it sparingly — over-blurred portraits look fake.
!Smartphone mounted on a compact tripod on a ledge shooting a city street at night using Night Mode
Landscapes and Architecture
- Use the ultra-wide lens for expansive scenes, but check the edges for distortion (straight lines can bow outward).
- Place the horizon on the lower or upper grid line, never dead-centre — unless you're shooting a symmetrical reflection.
- Golden hour and blue hour are your best friends.
- Use a tripod plus Night Mode (or Pro mode with a long exposure) for dusk and night architectural shots.
Food Photography
- Shoot from directly above (flat lay) or at a 45-degree angle. Straight-on from seated eye level almost never works.
- Natural window light from the side creates the appetising shadows and texture that make food look edible.
- Tap to focus on the closest element in the dish for a shallow-focus hero shot.
- Keep backgrounds simple: wooden board, marble slab, or a plain linen napkin. No busy tablecloths.
- Never use flash. It flattens colour and creates ugly glossy reflections on anything wet.
Low Light and Night
Low-Light Reminder: Night Mode requires the phone to stay still for 1 to 10 seconds during capture. Any movement — of the phone or the subject — creates blur. Brace the phone against a surface or mount it on a tripod.
- Night Mode activates automatically on most modern phones when ambient light drops, but you can also trigger it manually.
- Look for artificial light sources — street lamps, neon signs, shop windows — to use as directional light on your subject.
- If Night Mode produces too much noise, switch to Pro mode: lower the ISO, lengthen the shutter, and use a tripod. Cleaner result.
For deeper technique across low-light scenarios, PetaPixel's smartphone photography coverage has some solid walkthroughs.
Editing: The Final Step That Transforms Good Photos into Great Ones
!Adobe Lightroom Mobile interface showing a before and after edit of a smartphone photo
Even the best captured shot benefits from a two-minute edit. You're not "faking" the photo — every professional image you've ever seen has been edited. You're finishing what the camera started.
Edit Restraint: Excessive saturation, over-sharpening, and heavy filters make photos look artificial and dated fast. The goal is to enhance, not transform. If someone can immediately tell your photo was edited, you've gone too far.
Recommended Editing Apps
- Adobe Lightroom Mobile — free tier with optional subscription. Industry standard, full RAW support, presets, AI-powered masking. Deep but approachable. Full feature list on the Adobe Lightroom Mobile overview.
- Snapseed — fully free, made by Google. Non-destructive edits, the Selective tool for targeted adjustments, and one of the most beginner-friendly interfaces available. Details on the official Snapseed page.
- VSCO — free with optional paid presets. Film-like colour grading, great for building a consistent Instagram feed.
- Photos app (native iOS / Android) — genuinely underrated. Basic exposure, highlights, shadows, and crop handle roughly 80% of everyday edits with zero learning curve.
- Moment — free app with premium features. Built around manual capture and RAW editing, pairs with their add-on lenses.
Pricing may vary — check each app's official store listing for current tiers.
A Simple 5-Step Editing Workflow
- Crop and straighten. Fix composition if you missed the rule of thirds during capture. Align crooked horizons — nothing screams "phone snapshot" like a tilted sea.
- Adjust exposure. Lift shadows slightly, pull highlights down. This recovers detail in the darkest and brightest parts of the image without touching the mid-tones.
- Colour correct. Use the temperature slider to neutralise casts — blue indoor light or orange tungsten light both throw off skin tones. Nudge until whites look white.
- Add clarity and detail. A small clarity or texture bump makes landscapes pop. Keep it subtle on portraits — clarity is unflattering on skin.
- Export at full resolution. Don't compress before sharing to Messages or WhatsApp. Use email, AirDrop, or the app's direct-share to preserve quality.
That's the whole workflow. Ninety seconds once you know it.
Common Mistakes and Honest Limitations
Why are your phone photos blurry? The three most common causes: a dirty lens, camera shake during capture, or the camera focused on the wrong thing. Fix: wipe the lens, brace the phone or use a tripod, and tap the subject before you shoot. If you're using digital zoom, that magnifies any existing blur — switch to the optical lens or move closer.
Hardware Honest Truth: Technique wins most of the time, but if your phone is more than roughly 5 years old, small sensors and limited computational photography may genuinely hold back your low-light results. That's not a reason to buy the newest flagship — mid-range phones from the last 2–3 years handle 95% of scenes beautifully. Frame it as an evergreen upgrade criterion, not an urgent replacement.
The Five Most Common Mistakes
- Not cleaning the lens. Hazy, low-contrast images no edit can fully save.
- Relying on digital zoom. Always degrades resolution. Move closer or use the optical lens.
- Shooting into bright backgrounds without exposure compensation. Silhouetted subjects when you wanted their face lit.
- Using the flash indoors. Flat, harsh light. Red-eye. Ugly reflections. Turn it off.
- Not reviewing shots on a larger screen. Tiny phone previews hide blur and exposure problems. Zoom in on the review, or check on a tablet before you commit.
What Phone Cameras Still Cannot Match
Let me be honest — a phone isn't a full-frame camera. Here's where dedicated cameras still win:
- Extreme shallow depth of field at moderate distances. Portrait mode simulates the look but doesn't fully replicate a fast prime lens on a large sensor.
- True super-telephoto reach. Flagship phones top out at roughly 5x–10x optical zoom. A dedicated 400mm lens crushes that.
- High-speed autofocus tracking for fast sports and wildlife. Phones have improved dramatically but still lag behind sports cameras.
Ongoing hardware comparisons at TechRadar track where phones are closing the gap.
That said, these are edge cases. For weddings you attend as a guest, trips, portraits, food, street, and 99% of everyday scenes, a modern phone in the hands of someone who knows the fundamentals produces genuinely great work.
FAQ: Smartphone Photography Questions Answered
How can I make my phone photos look more professional?
Focus on three areas: light (soft, directional, natural), composition (rule of thirds, leading lines, clean backgrounds), and editing (subtle adjustments in Lightroom Mobile or Snapseed). Consistency in editing — using the same preset or colour grade across a set of images — creates the polished, intentional look you see on professional feeds.
Why are my phone photos blurry?
The three most common causes are a dirty lens, camera shake, and missed focus. Wipe the lens with a microfibre cloth, tap the subject on-screen to lock focus, and brace the phone against a surface or your body. Avoid digital zoom, which amplifies any existing blur.
Should I shoot in RAW on my phone?
Yes, if you already edit your photos — RAW preserves full sensor data and gives you far more latitude for exposure, colour, and detail recovery. If you shoot and share without editing, JPEG or HEIC is more practical. Check the Apple ProRAW page or your Android manufacturer's documentation for compatibility.
When should I use HDR versus Night Mode?
Use HDR in high-contrast daylight — a bright sky behind a shaded subject, for example — to preserve detail in both shadows and highlights. Use Night Mode in genuinely dark environments where standard mode produces noisy or underexposed results. Don't use Night Mode in daylight; the longer exposure causes blur.
Is optical zoom better than digital zoom?
Yes. Optical zoom uses a physically separate telephoto lens and captures a full-resolution image at that focal length. Digital zoom crops and enlarges the sensor data, reducing sharpness and resolution. Always use the 2x, 3x, or 5x optical button when available — and walk closer when it isn't.
What is the best time of day to take photos with a phone?
Golden hour — the 45 to 60 minutes after sunrise and before sunset — produces warm, soft, directional light that flatters nearly every subject. Overcast midday light is a strong second choice for portraits and food photography because clouds diffuse the sun. Avoid harsh direct midday sun whenever possible.
What are the best free apps for editing phone photos?
Adobe Lightroom Mobile (free tier), Snapseed (fully free), and your phone's native Photos app cover the majority of editing needs at no cost. VSCO is free with optional paid presets. All four are available on iOS and Android. Pricing may vary — check the official app store listings.
Do I need a tripod for smartphone photography?
Not for most daytime shots, but a tripod is strongly recommended for Night Mode, long exposures, self-portraits, time-lapses, and video. Compact phone tripods are inexpensive (often $15–40) and small enough to carry every day — they significantly expand what your phone can capture in low light.
Sources
- Adobe Lightroom Mobile Overview — Adobe Help Center
- Use ProRAW on iPhone — Apple Support
- Take and edit photos on Pixel — Google Support
- Smartphone Camera Tips — DPReview
- Smartphone Photography Tips — PetaPixel
- Best Camera Phones — TechRadar
- Snapseed — Official App Page
- Moment Learn — Mobile Photography Education
- CIPA Digital Camera Shipment Statistics
- Rule of Thirds Explained — New York Institute of Photography